How to install dynamic DNS for free
If you're installing for newer CCTV devices, try in advance the installations in the list below
- How to install Hostname DDNS for the device can change the server address ( HIKVISION, DAHUA)
- How to install Free Dynamic DNS for CCTV Dahua
This article guides to install Dynamic DNS through change the DNS address on the device. Changing DNS may cause some Internet-related functions (sending Email, updating time...) of the device to not work.
Steps dynamic DNS installation
Step 1: Change DNS address in network settings.
Please change the default DNS address to the 2 addresses below:
- Primary DNS: 65.109.10.51
- Secondary DNS: 173.199.96.96
BÆ°á»›c 2: Go to settings and activate DDNS, select DynDNS or No-ip, then fill in the information including Username, Password, Hostname that the system provides
.DDNS system information template provided

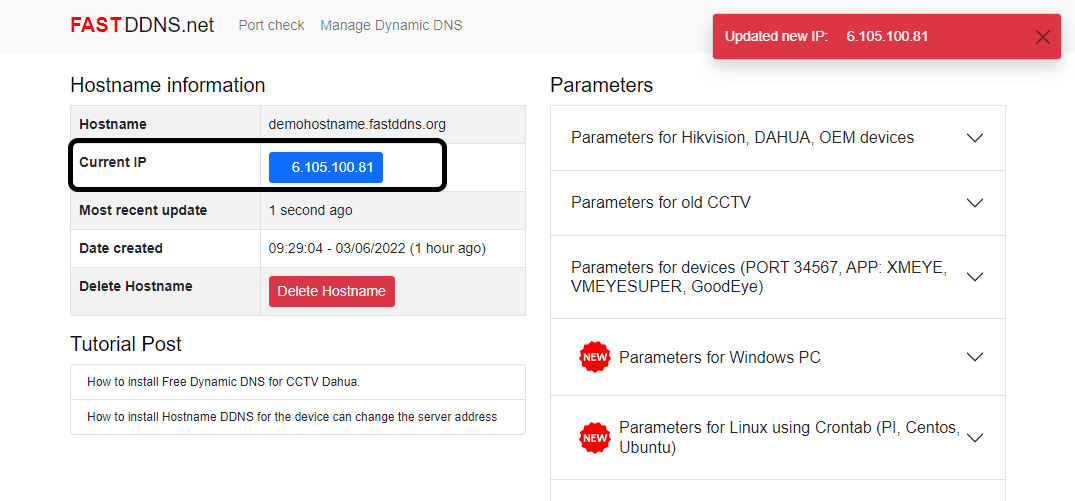
After installing DDNS information on the device, go back to the hostname information management page, wait from 30 seconds to 5 minutes to check if the ip address has been updated or not.
If you don't see the updated IP address.
- Please check that the information entered into the device is correct?
- Try restarting the device.
- If the above steps still don't work, try to default device again then reinstall DDNS.
- Refer to other ways to install DDNS here
Successfully tested on Port (Default) recorder 34567 using GoodEye App, XmEye, vMeyesuper READ